Treading Lightly: A Design Framework for Illuminating Steel Staircases
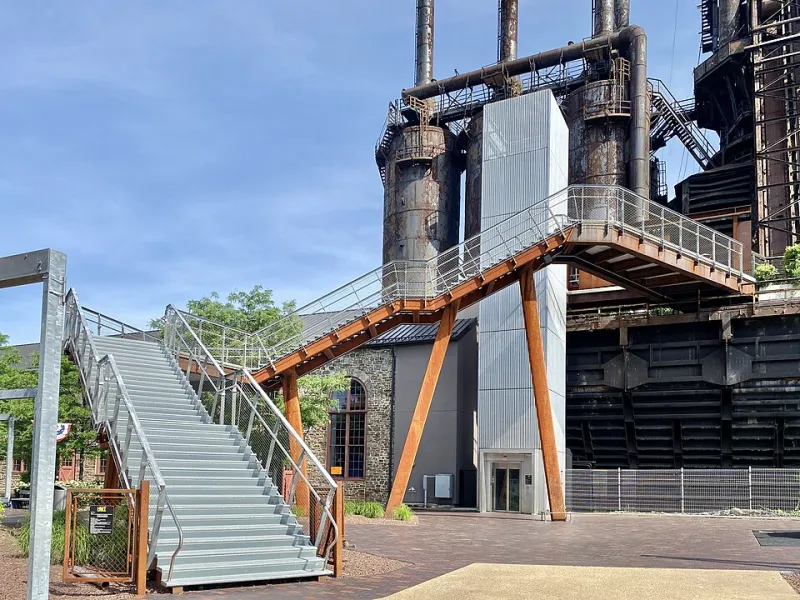
Photo: w_lemay, CC BY-SA 2.0, via Wikimedia Commons
Steel staircases have moved from industrial conversions into the everyday vocabulary of British housebuilding. In loft conversions, side-return extensions and new-build homes, a slender stringer and open balustrade can do more for a plan than any amount of applied decoration. Yet lighting is still frequently resolved at second fix, when the steel is already painted and the ceiling is closed. The result is a pendant dropped over the void and a staircase that reads as circulation rather than architecture.
A better approach is to treat the stair as a composition of planes, edges and shadows. Lighting should make the structure legible and the route safe; it should also give the stair a life after dark. That requires a layered design, disciplined glare control and fixing details agreed before fabrication.
Begin with the steel, not the fitting
The first question is not which luminaire to specify but what the stair is made of and how it is put together. A folded steel stringer, an open riser and a glass balustrade all react differently to light. A closed stringer may benefit from grazing along its face; an open flight may need light under the treads to reveal depth. The lighting designer and the fabricator should exchange drawings early, because the cable route, driver location and fixing points are part of the steel detail.
Step lights: the safety layer
In a domestic stair, step lights are primarily a wayfinding tool. They should mark the tread without becoming a runway. Recessed or surface-mounted fittings set into the riser or the stringer face are usually preferable to lights in the tread, where they collect dirt and glare. A beam of 30 to 45 degrees, aimed down and across the nosing, is often sufficient. Wider beams wash the whole flight and reduce contrast, which can make the stair feel flat and over-lit. Asymmetric optics or a shielded aperture help keep the source out of sight from the foot and head of the stair. For residential use, 2700K with a CRI of 90 or above will sit comfortably with typical interior finishes; 3000K may suit a more clinical or commercial palette. One fitting per three or four treads is often enough, and alternating sides on longer flights can reduce visual clutter.
Handrail light: a line of guidance
Linear LED integrated into the underside of a handrail or within a balustrade cap can provide continuous, low-level guidance. The detail is not the LED; it is the extrusion, diffuser and cable path. A 24V constant-voltage tape in an aluminium profile with an opal diffuser, recessed into the handrail or set behind a steel upstand, gives a soft line. The profile must be serviceable. Solder joints should not be buried in a sealed steel section. Cable should run in a dedicated void or conduit, with grommets at every steel penetration and an accessible driver location. Dimming is essential: a handrail line at full output is dramatic but rarely comfortable for daily use.
Uplighting the stringer
Controlled uplight can reveal the underside of a flight, the texture of a steel stringer or the rhythm of treads. The technique is not floodlighting. Narrow-beam fittings of 10 to 24 degrees, set low and aimed along the steel, create a grazing effect that emphasises profile and weld detail. Cross-lighting from two sides can reduce shadows; a single side can be more sculptural. Keep the source hidden behind a baffle or within a floor recess, and avoid aiming into the eyes of someone descending. In a double-height space, the uplight should be on a separate dimmed circuit from the step lights, because the two layers serve different tasks.
Glare, dimming and daily life
Glare control is the difference between a stair that feels safe and one that feels like a lighting showroom. Use recessed or deeply baffled fittings, keep lux levels modest, and avoid placing any source in the direct line of sight from a standing position on the landing. Dimming should be smooth and local. A simple scene set at the foot and head of the stair, with a night-time setting at 10 to 20 per cent, is more useful than a complex control system. In larger homes, DALI or wireless dimming can link the stair to the hall and landing, but the switching should remain intuitive for guests.
Emergency and compliance
Emergency lighting is not automatically required in every domestic staircase, but it is required in certain buildings and uses. Where the stair serves flats, guest accommodation or commercial space, the design should be reviewed against the relevant guidance and building regulations. Emergency fittings can be integrated into step lights or concealed as separate luminaires. The key is to agree the strategy early, because emergency packs, test facilities and cable routes all affect the fixing detail.
Fixings and the tidy cable
The most common failure is not optical but practical. Cables need a route from the light to a driver and an isolator. In steel staircases, that route can be a conduit fixed to the underside of the stringer, a channel within a hollow section, or a floor void. Penetrations should be grommeted and, where fire separation is involved, sealed correctly. Fixings should be stainless or appropriately coated, and the steel finish should be touched in after drilling. If the stair is prefabricated, the lighting contractor and fabricator should coordinate before the steel leaves the workshop. A little forethought at that stage avoids visible trunking later.
A steel staircase is a piece of architecture in its own right. Lit in layers, it can be safe at night, expressive in the evening and quiet in daily use. The fittings matter, but the discipline of glare control, dimming and coordinated fixings matters more.